If you do have a dipstick and you’re checking it yourself, make sure the car is parked on level ground. If the engine has been running, be aware of potential hot spots under the hood. Most automakers recommend checking the oil level when the engine is cool.
With the engine off, open the car’s hood and find the dipstick. Pull it out from the engine and wipe off any oil from its end with a dust-free cloth or towel. Then insert the dipstick back into its tube and push it all the way back in.
Pull it back out, and this time quickly look at both sides of the dipstick to see where the oil is on the end. Every dipstick has some way of indicating the proper oil level, whether it’s two pinholes, the letters L and H (low and high), the words MIN and MAX, or simply an area of crosshatching. If the top of the oil “streak” is between the two marks or within the crosshatched area, the level is fine.
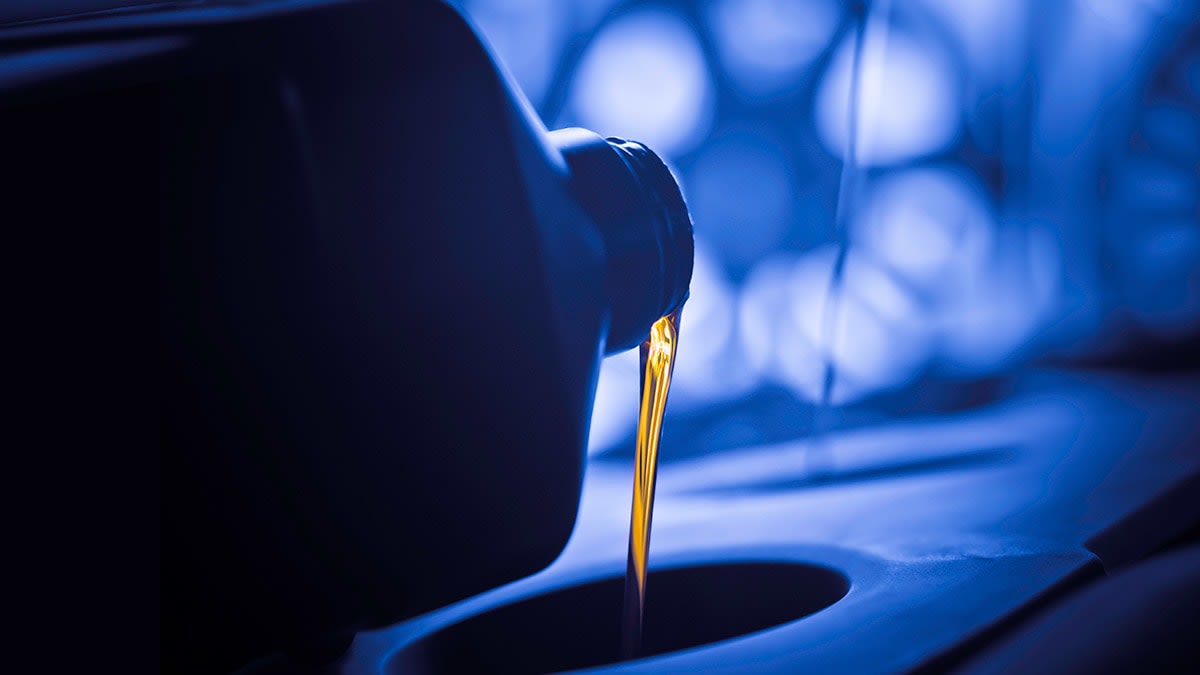
If the oil is below the minimum mark, you need to add oil. (Use the oil type recommended in the owner’s manual, adding no more than half a quart at a time. Let the car sit, then check again.)
Pay close attention to the old oil’s color. It should appear brown or black. If it has a light, milky appearance, this could mean coolant is leaking into the engine. Look closely for any metal particles, too, because this could mean there’s internal engine damage. If you see either of these conditions, take the car to a mechanic for further diagnosis.
If everything is okay, wipe off the dipstick again and insert it back into its tube, making sure it’s fully seated. Close the hood and you’re done.
If the oil is consistently low when checked, the engine is either burning the oil or leaking it. Either way, discuss this recurring problem with your mechanic.